For Christmas 2019, my friend Corey Vilhauer gave me the LEGO set for Central Perk from Friends for Christmas. In March 2020 – right in the middle of the COVID-19 epidemic – I finally got a chance to put it together.
I am a LEGO neophyte. I played with them relentlessly when I was a kid, but I haven’t picked up a LEGO brick in 30 years. For all that time, I’ve looked jealously on all the cool sets the kids get these days.
This was a fun project. I started documenting it in pictures, and put this together.
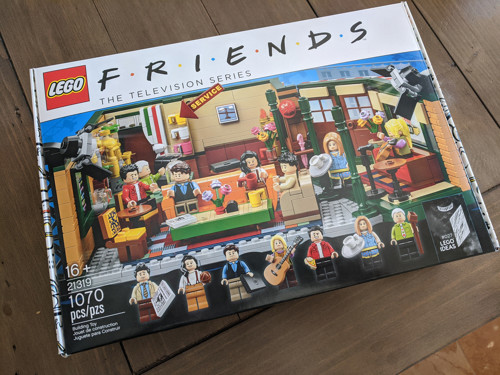
Here it is. 1,070 pieces altogether.
That’s a lot, but far from the biggest. LEGO has sets with many thousands of pieces, including a discontinued Taj Mahal set approaching 6,000 pieces that sells for over $1,000. And collectors will pay even more than that for the legendary Millennium Falcon set.
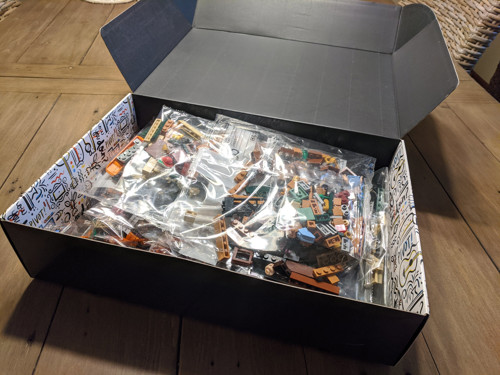
Thankfully, the pieces are divided up into seven bags, numbered 1 through 6 (there were two bags labeled “1” for whatever reason).
The bags build on each other. You dump one of them out, put it together, then move to the next one. This prevents you from having all the pieces out at once, which is helpful.
It also gives you natural stopping points to break the whole thing up. I would do a bag, then set it aside and come back later.
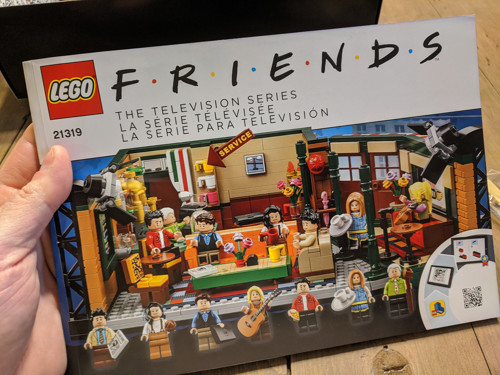
It comes with this thick book. It had a couple pages of Friends trivia (translated into about 15 languages), but most of it was instructions. There were almost 200 separate steps, divided up into six sections, to correspond with the bags.
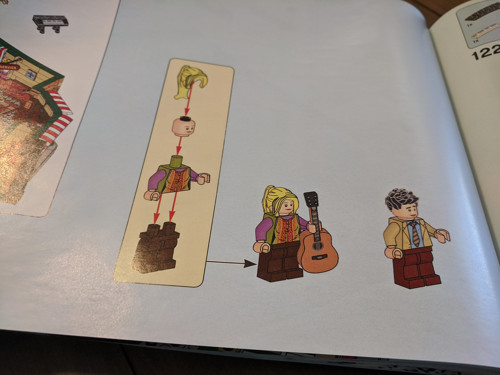
I started each step by assembling one of the Friends – all six of them, plus Gunther. They each had a little accessory.
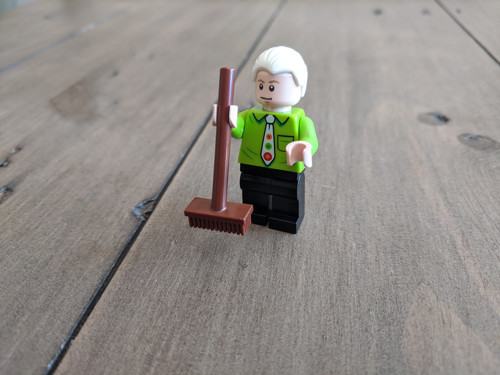
Poor Gunther has a broom, which is sad because he’s basically the seventh friend. Also, I never once saw him with a broom on the show.
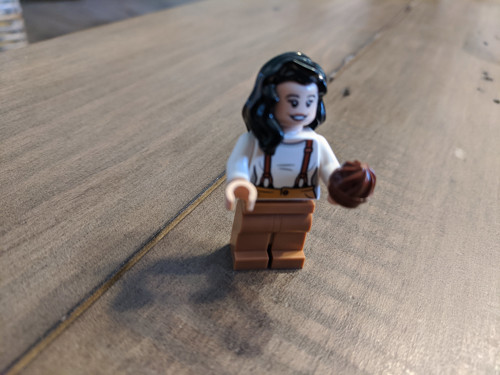
Monica has a muffin. I thought she should have had a vacuum, but I suppose that wouldn’t have made sense in Central Perk.
(But…did Monica bake this muffin? That fits with her character. But why would she bake her own muffin in Central Perk?)
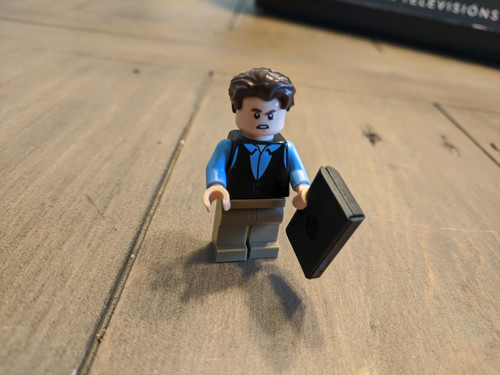
Chandler is wearing a sweater vest and has a laptop to hold (which is huge, proportionately). When he’s not holding it, it actually opens up and folds out.
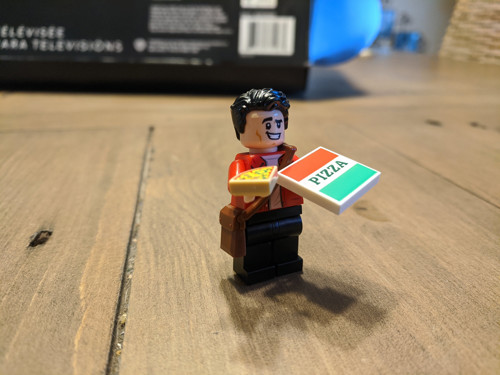
Joey had both a piece of pizza and a pizza box. He even has a little “man bag” from The One with Joey’s Bag in Season 5.
(Why would Joey have a pizza in Central Perk? Because he’s Joey!)
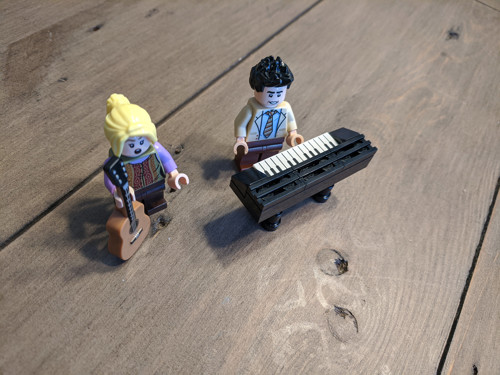
Phoebe and Ross were in the same bag (remember, six bags, and seven people including Gunther). Phoebe had a guitar.
Ross didn’t have anything, but the first step in their bag was to put together his keyboard. The keyboard doesn’t have a place in the set, but you can swap it with Phoebe’s microphone (pictured below). Ross “played” his keyboard at Central Perk in the Season 4 episode The One Where Chandler Crosses the Line. Here’s the video.
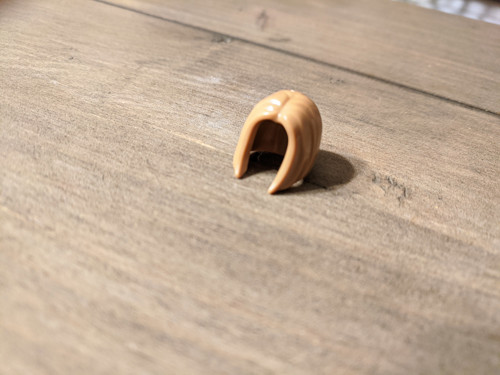
Here’s Rachel’s hairpiece, which is a perfect representation of The Rachel which was all the rage in 1996 or so.
I literally LOL’d when I saw this.
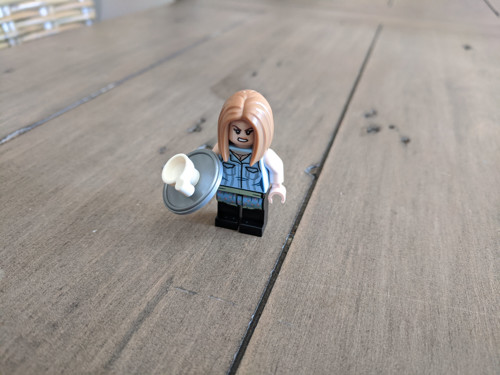
And here’s Rachel. She had a little tray with a coffee mug, but she can’t hold it straight (which probably fits, because she was a terrible waitress). Also, she looks absolutely furious about something.
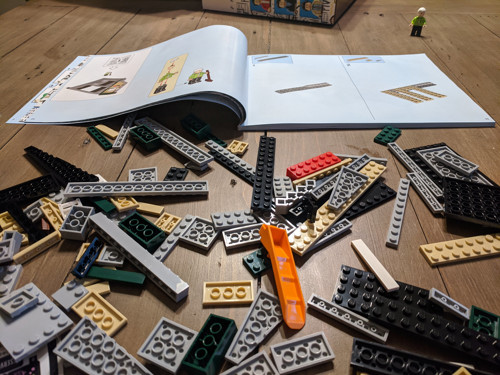
And here we go. Gunther was literally the first thing to be assembled, so he’s watching nervously from afar.
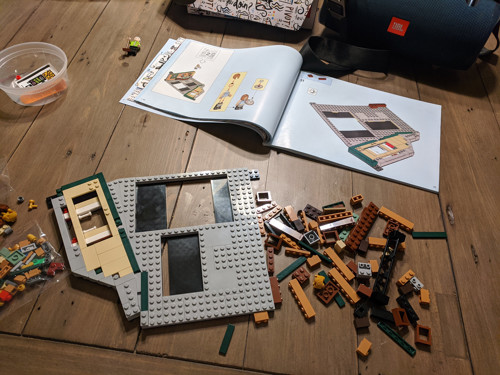
The base was the most abstract part. It was tough to visualize anything from this. I just had to trust the process.
The instructions were easy to follow. LEGO has got the instructions nailed. There are no words, just pictures, and they make total sense.
Thankfully, I never made a mistake where I had to disassembly anything. Sometimes I got to the end of a step and realized something was off, but I never had to retrace back through steps and take anything apart. You just have to be careful before you leave a step that it looks right, and all the little knobs are exposed in the right places. The diagrams are remarkably well-done for this.
You can see here that the base has three rectangular holes. That’s where the rugs go (see below).
Gunther has fainted from stress.
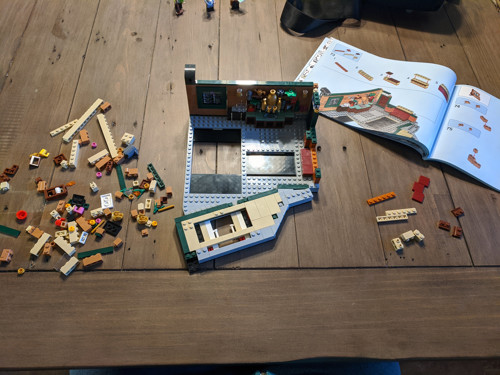
The instructions have a little “manifest” for each step, showing you what parts you need. It quickly became helpful to count out all those parts before I started doing the step, and move them to the other side of the workspace. So then I knew when I was done with the step for sure, because I didn’t have anymore parts on that side.
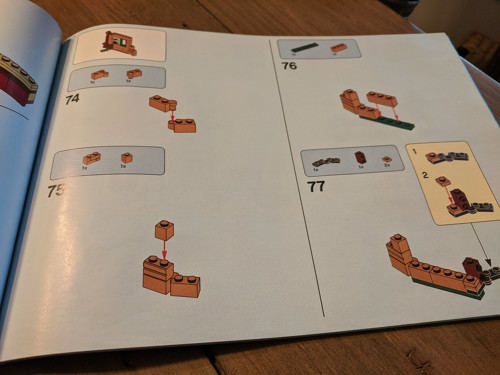
Often, the instructions would branch into subassemblies (like the rugs, for example) where you might be working for many steps on a single thing which will then fit into the main assembly later. And sometimes these subassemblies would say something like “4X”, which means you had to repeat it multiple times to create a bunch of little fragments.
I was thinking that these subassemblies would have been good for a second person to work on, but the problem is that there’s only one book. I had an idea of doing this as a project with my daughters, but it wouldn’t have worked well. The assembly went pretty sequentially, and everyone would have needed their own book. I think to divide something like this up, it would need to be designed for that.
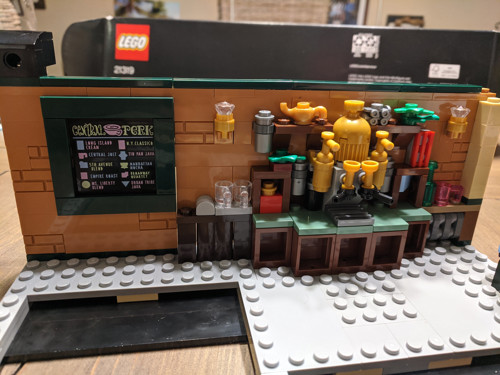
The detail of the espresso machine is neat. It has little handles and everything.
This was an example of something that made no sense while I was building it. I couldn’t even figure out what it was – the instructions have no words, and they don’t tell you what you’re building in any given step. Again, I just had to trust the process. And then, suddenly, this all came together when I set it down on the base. There were moments like that all throughout the process, and they were magical.
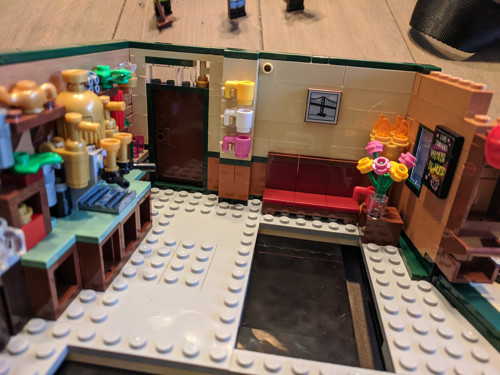
Here’s the back wall in place, complete with little flower vase. You can see the big hole in the base there that I have to build a rug for later.
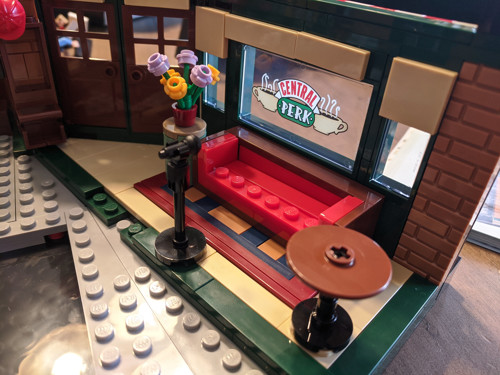
Here’s the front door and main window. Phoebe’s microphone is there, but you can swap that out for Ross’s keyboard if you want.
The glass is reversible. Obviously, it should read correctly from the outside, but they figured you’d mainly be looking at it from the inside. You can just pop the window out and flip it around, if you want (there’s a page in the instructions specifically to demonstrate this).
The couch is actually sitting on a rug (see below for another example). It’s attached to the rug, and the rug is set in a hole in the base. In the bottom left of the picture, you can see another hole waiting for the main rug and couch assembly.
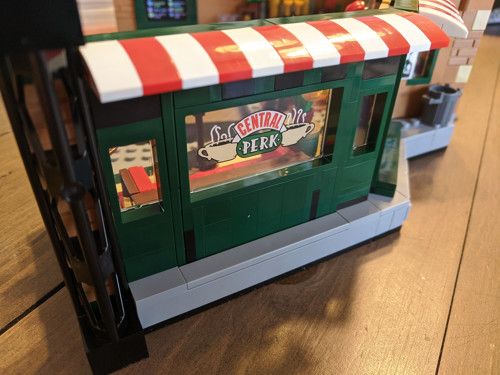
Here’s the front window from the outside. I flipped the glass around for this picture.
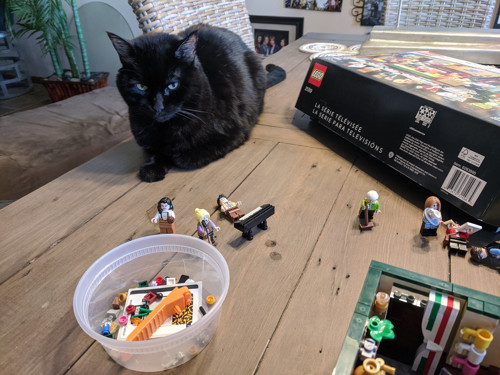
Side note: you don’t know true terror until your cat comes and sits like this and just stares at all the little pieces sitting near the edge of the table. Good kitty.
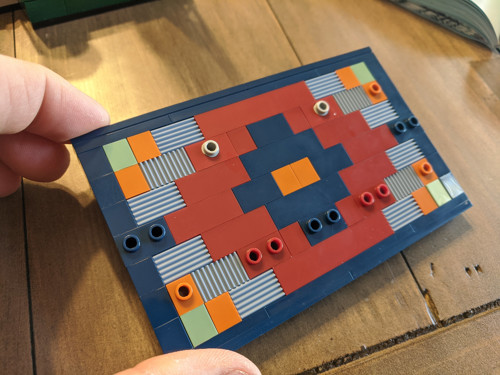
Here’s one of the rugs – the big one that goes under the couch at the front and center. There were three rugs, and they’re really tedious to make, but satisfying when you finish them and everything matches up with the instructions. They drop into the holes in the base (see picture above).
The knobs are to secure various things that go on top of it – in this case, the couch, chairs, and coffee table.
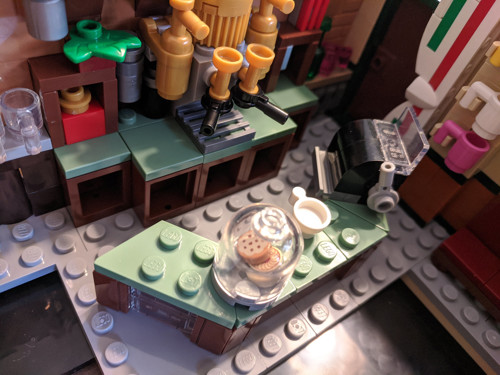
Here’s the counter assembly, complete with little baked goods under the glass cover. Those aren’t connected to anything. I had to drop them into the glass cover then jiggle it so they both turned upside down, which was right-side up when I put the bottom on and turned it over.
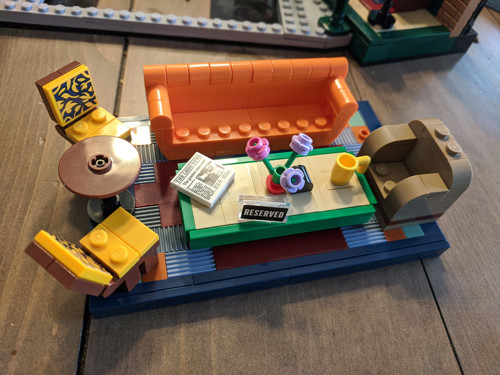
The iconic couch and living room set. It’s sitting on top of one of the rugs which drop into the base.
If you look at these pieces, and the couch pictured above, you can see that they have exposed knobs on the leading edge. This is because these knobs fit into holes on the figures’ rear ends. And that’s a recurring theme – all knobs are covered except where you might want to pose figures, like the floor and the seating areas of furniture.
(I’m also learning there’s an official language to LEGO. Technically, the knobs are known as “studs,” and the holes are known as “tubes.” Also, it’s never a “block”; it’s always a “brick.”)
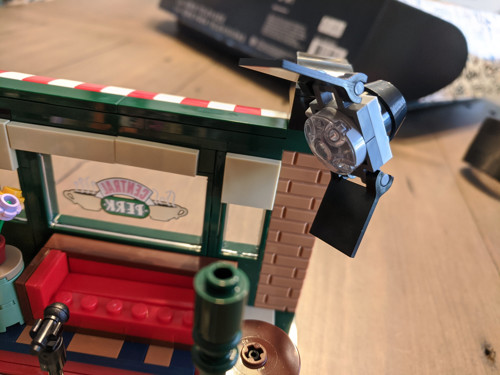
In a weirdly meta angle, you’re not actually building Central Perk, but rather the sound stage set for Central Perk, to represent the filming of the show. Clearly, the front wall is not present, like on the TV set, and it includes lighting gear, as if it was being filmed.
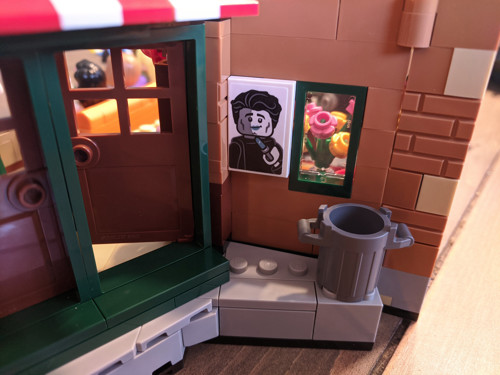
For some reason, on the outside wall, there’s this little hidden poster for Joey’s “Lipstick for Men!” commercial he did in Japan in the Season 10 episode The One With Ross’s Grant. (Here’s the video; it starts at 0:56.)
Note the studs on the floor there, helpfully placed so you can pose figures in front of the poster, mocking poor Joey.
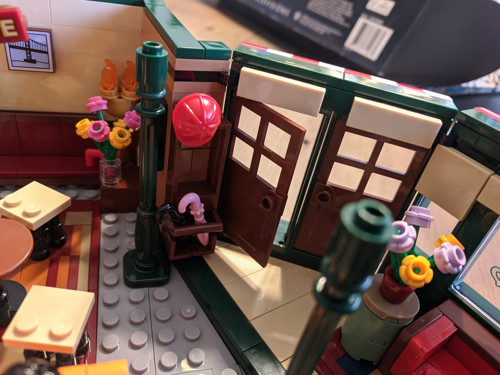
The front doors open, and there are little umbrellas that sit in the holder on the wall.
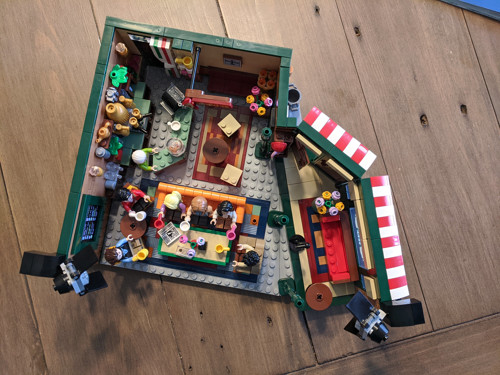
From above, you can see how non-square it is. The right-side wall comes out diagonally, which takes some theatrics with hinged pieces to make happen.
One constant throughout the set is structural integrity. It’s tightly put together. Every time something seemed loose or flimsy, it would invariably get locked down in a later step.
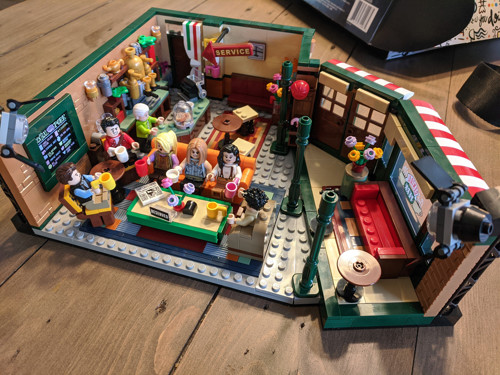
And there it is! All told, it took me 4-5 hours to complete. Each bag took 30-45 minutes to put together.
Gunther should be further behind the counter to match the picture on the box, but my fingers are big, and I kept knocking handles off the espresso machine when I tried to get him back there.
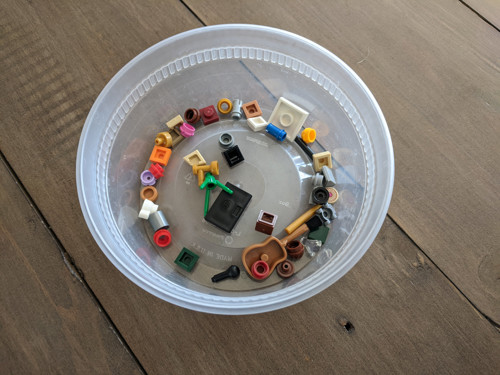
Every bag had extra parts. This freaked me out at first – after I built the base, I had extra parts and I went back over every step before I was sure I hadn’t missed anything. The assortment of extra parts is pretty random. Also, you can see the little character accessories there too – they all come off.
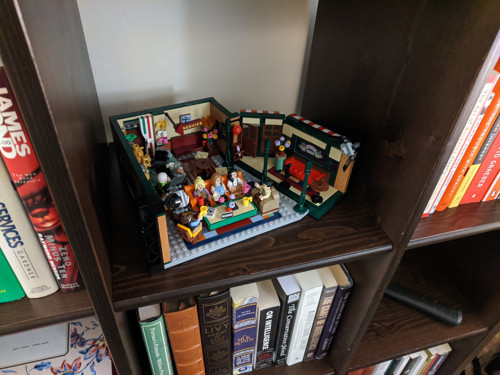
And here it is on my shelf in my office. It will be behind my head for every video call.